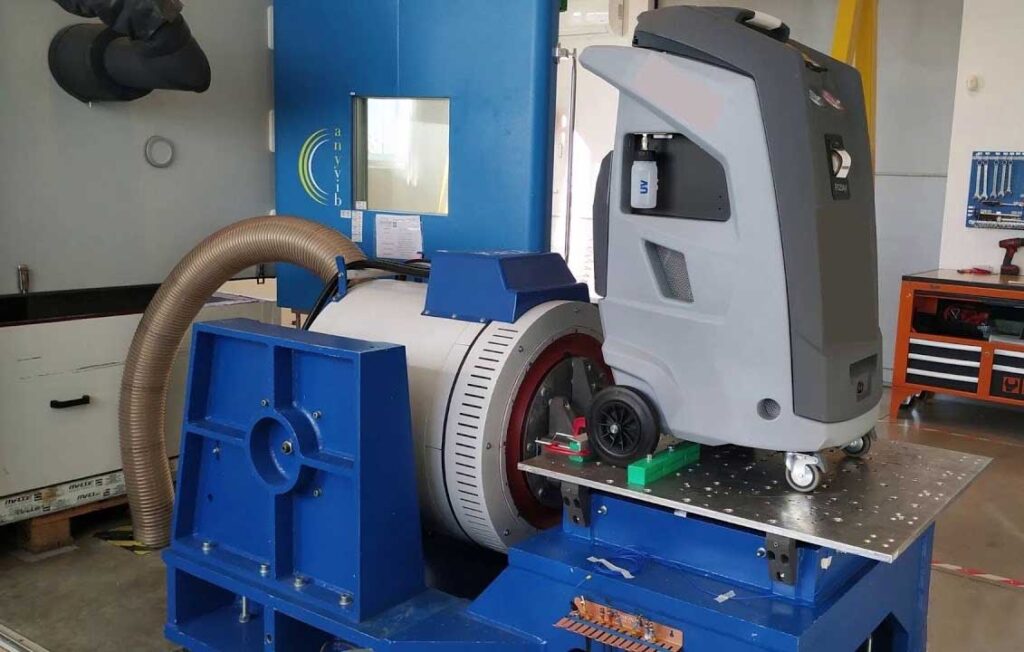
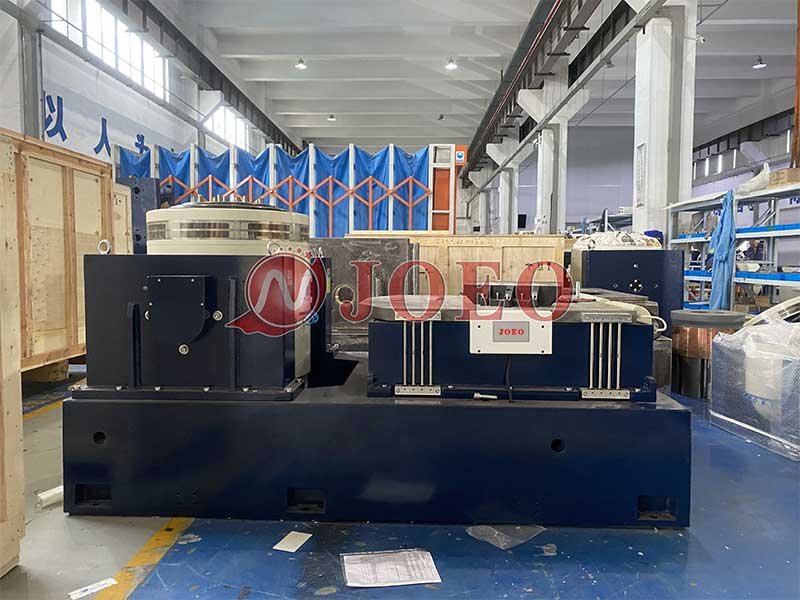
The purpose of the IEC 60068 2 vibration test is to determine whether the specific performance of the equipment under test is subject to mechanical defects and/or degradation under severe vibration conditions. During the test, EUT and vibration response data should be monitored and checked to determine the critical frequency. The IEC 60068 2 vibration test standard is applicable to samples that may be subjected to random vibrations caused by transportation or operating environments, such as aircraft, spacecraft and land vehicles.
Vibrations can be caused by rotating, pulsating, or oscillating forces similar to those found in ships, aircraft, rotorcraft, land vehicles, and space applications, or by mechanical and seismic phenomena. In short, the IEC 60068-2-6 vibration test exposes the sample to sinusoidal vibration for a given time within a given frequency range.

The required characteristics are applicable to the entire vibration shaker system, including power amplifiers, vibrators, test fixtures, specimens and control systems for loading tests.
The maximum vibration amplitude of a checkpoint on any axis perpendicular to the specified axis must not exceed 50%(not more than 500hz) or 100%(not more than 500hz) of the specified amplitude. The measurement only needs to cover the specified frequency range. In special cases, such as small specimens, the allowable cross-axis motion amplitude may be limited to 25% if required by the relevant specifications.
In the case of large size or high quality samples, the occurrence of false rotational motion of the vibration shaker system may be important. If so, the relevant norms should specify a tolerable level
The acceleration signal tolerance measurement shall be carried out in accordance with the relevant specifications. The test should be performed at a reference point at a frequency of up to 5000 Hz or five times the drive frequency, whichever is less. However, this maximum analysis frequency can be extended to the highest test frequency of the scan, or beyond, if specified in the relevant specification. Signal tolerances shall not exceed 5% unless otherwise specified in the relevant code
At check points and reference points, the basic motion amplitude on the shaft is required to be equal to the specified value, within the following tolerances. These tolerances include instrument errors. The specification may require that the confidence level used to assess the uncertainty of the measurement be stated in the test report. In low frequency or large size or high quality samples, it may be difficult to achieve the required tolerances. In these cases, greater tolerances are expected to be specified in the relevant specifications and test reports or alternative evaluation methods are used.
The initial steps involve selecting and preparing test samples that accurately represent the final product. The sample must be mounted on a fixture that simulates its real installation environment. This preparation phase is critical to the validity of the test results, as it ensures that the test conditions closely replicate the operating conditions of the component or device.
The next step is to set up the vibration shaker system. This usually includes shaking tables, power amplifiers, and control systems. The equipment must be capable of producing vibration levels specified in frequency and amplitude as specified in the test plan. Calibrating the device before testing ensures the most accurate and reliable test results.
After fixing the test sample and calibrating the test equipment, the execution phase begins. This phase involves programming the control system with the specified test parameters and initiating the test. Close monitoring of equipment and test samples throughout the test period is essential to ensure compliance with specified parameters.
During testing, it is essential to use sensors and data acquisition systems to monitor the response of the test sample to the applied vibration. Recording all relevant data, including vibration frequency, amplitude, and any observable sample behavior, forms the basis for subsequent analysis phases.
The final step in the vibration test process is a comprehensive report of test Settings, procedures, results, and conclusions. This document serves not only as a record of compliance with IEC 60068-2-6, but also as a foundation element for future product improvements and design optimizations.
JOEO is the leading manufacturer of vibration test equipment in China, we can develop the appropriate test plan and fixture according to the needs of customers, with multiple vibrators, our scheduling can shorten the lead time and fast turnaround.
Please contact us for more information on IEC 60068-2 vibration testing.
